Creating Beauty

As a child, I was frightened by a humongous Kissy doll. At 3, it was as big as I was and when you pulled it's hands together it made a smacking or a supposed kissing sound. I was sure it would get up and get me......making smacking sounds as it neared my bed.

Now I make dolls.....some are supposed to be scary, but most just reflect how I look at beauty. To me we have a very narrow view of what beauty is and is not. I have cerebral palsy and don't think I'm whining about it I'm not. I'm lucky my case is very mild compared to some people's. But you can pick me out as different, I walk awkwardly, but my arm and leg work correctly.....for someone with a partially paralyzed arm and leg.

I look like someone with CP is supposed to and in my way I'm attractive. I try to reflect alternative beauty in the dolls I create and so in some ways I'm still dealing with fear, but now it's not my own.
Showing posts with label fantasy art dolls. Show all posts

Sunday, March 17, 2019

I’ve been working on my Bunny World ...

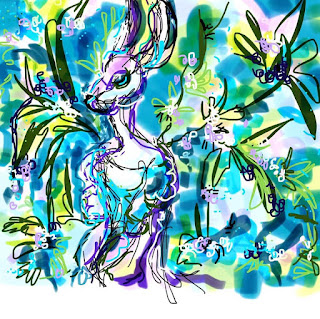
 Lady Arabella and Phoebe are the first in what I hope will be a several piece series.  You’ll note that a new portrait ofArabella has also been done as a relief sculpture.
 

I was playing with the digital drawing tools  and created an image of Arabella that I’m going to use as a fabric pattern. I’m trying to smooth out the edges of the 4 panel and the kalidescope design and I’m going to order a sample of each.  I’m really looking forward to seeing the finished fabrics. I’m partial to the kalidescopic first swatch myself. I’m thinking middle weight or light cotton for the fabric.  Any suggestions are welcome.


Tuesday, March 1, 2016

Creation of a Lovely Monster Part 2

 Just a little observation....you never know what people will see in your work.  My husband looks at what I was going to call A Bride of Cthulhu and said...."Wow that really looks like Lucille Ball!"

Which is funny cos... One- I was attempting to create something a little frightening and a little sophisticated. Two- I never cared for Lucy's type of embarrassment humor. Interestingly enough, I have problems with depression and through my reading on the subject, that type of humor is abhorant to many sufferers.

So, yes I unconsciously created quite a monster. Strange how things work out.

Monday, October 19, 2015

Halloween Dolls- Soceresses, Demons and Ghosts.... Oh my! Part 1

Halloween is my favorite holiday and many of my dolls, while they are inspired by more than Halloween themes, fit quite well into the season.

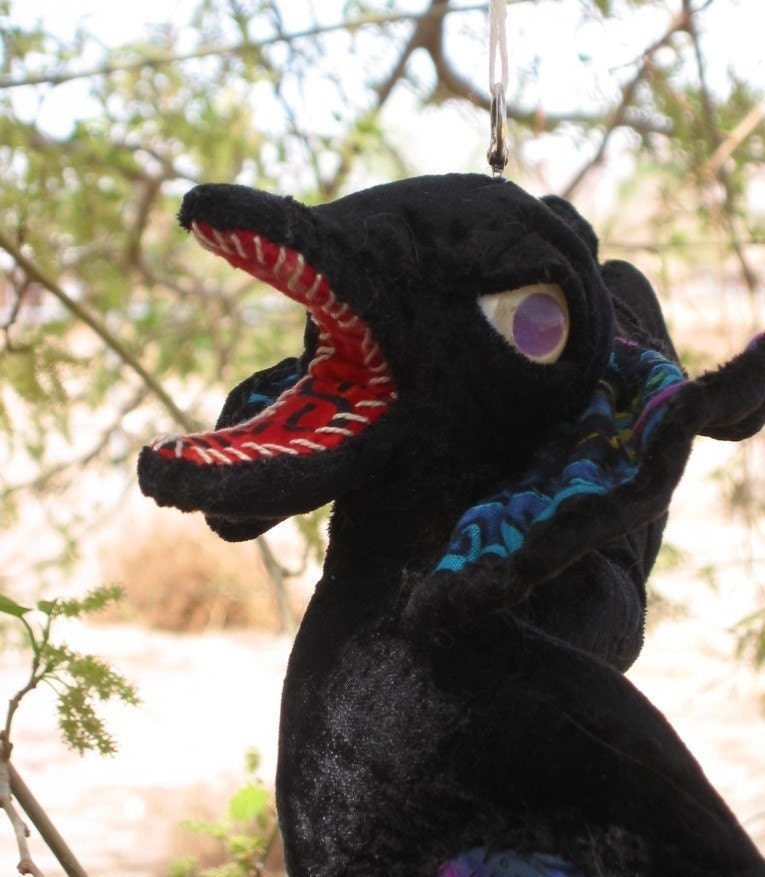
Mythology and history combined to create the black winged demon Lilith.

Bats and cats inspired my little vinyl winged Flutter cats.

Now a sort of gruesome type of period song called Silver Dagger Ballads inspired the floating blue green half doll. In these ballads, men murder their wives or lovers and often go home to a good nights sleep. Now these songs are quite the MRA anthems, so in my version of the poems, the ghosts of the women get their revenge.

The final ghost Lavinia is actually daughter of Titus Andronicus. Titus was a great melodrama of a Shakespearean play...murder  and rape and the lopping off of limbs and even cannibalism.  I guess mind numbing gruesomeness takes your mind off the short lifespan and religious domination you're experiencing.

Matilda, the Batgirl is my attempt to make a cute batgirl. I'm pleased at how well her hair and little embroidered teeth turned out.

Well, these are a few of your choices if you're looking for a doll for Halloween.

My next post will discus monsters... among other things


Monday, July 6, 2015

Doing custom Art dolls and Animals

I am in the process of creating several different new designs, but wanted to make sure that the pieces like my Minkeys and my Runes cats were still available regularly.

I still intend to make and list them of course, but I want to make sure that getting a customized piece is always available.

After creating the Cthulhu inspired Whateley Rooster, I found that I enjoyed creating the tentacled versions so much that you have several new animals to look forward to in the coming weeks.

So if you have a favorite beast that you think deserves a tentacled makeover, feel free to suggest it. I like getting input because it helps me expand my ideas.

One new Cthulhu based series I'm starting are what I'm calling my Brides of Cthulhu. Except for Frankenstein's Bride or Mothra...okay maybe Drac's women, there aren't that many female monsters. I'm hoping to create a few new monstrous women.

So keep your eyes open and check out my new pieces as I add them and if you want one of my older designs it will be possible for you to do so by special order.


Wednesday, January 29, 2014

I hate when that happens

During the time that I was falling into illness, I was making dolls, but apparently my failing health robbed me of my sense of design, color and memory. Now I think this Lovecraftian style rooster would be something I'd remember, I have no memory of it.

Now one I definitely won't even photograph because it was so awful was a fairy cat sort of figure. I'm stripping it down to the wire on the wings and recovering the body and redoing the head.   I read about Norwegian fairy cats recently and I found the winged purple mess in my supply closet and I think I can redo this piece successfully.

I only have 6 more pieces to work with....

Monday, December 2, 2013

Tuesday, November 26, 2013

Works in progress- Water Dragons


Limited Edition Water Dragon Works in Progress Part 1

In my Pet Shop Of the Old Ones soft sculpture line I have a Water Dragon named Siku.
I've been thinking that making hybrid soft and hard sculpt figures in limited editions could lower the cost of some of my pieces. I'm hoping that this will make them more appealing to more customers.

I haven't done much clay sculpture in the past few years so this piece has been a challenge. The head, wings and torso will be cast in resin and hand painted. I plan on inserting an armature in the bottom of the torso and using batting and fabric embellished with beads to create the tail.

I'm looking forward to combining paint, fabric and beads to create these new pieces.


I'm working with an oil based clay called Chevant. It's used in the special effects industry, car and industrial design. It comes in several hardnesses and holds textures and details beautifully. It also smells and feels unpleasant if you love real clay or wax like I do. But I'm getting used to it... I think it might grow on me eventually.

I'm thinking of doing these animals in small editions of 12 to 25 at the most. I was also thinking it might be a fun kit sort of project too.

Tuesday, November 12, 2013

Sewing Freeform Figures - Captured


The way I work can seem very involved. In this tutorial, I wanted
to share how I
made one of my favorite pieces, CAPTURED .


I've always loved the colors of the Egyptian Funerary Art and the textures and spiraling shapes in Gustave Klimt's work.

I've always done
sketches to
help me
plan my
sculptures,
but I have never let the drawings get too involved though. The fabrics and the sewing itself often dictated changes in the finished piece.

After I collected up different shades and textures of fabrics in the the Egyptian inspired colors , I chose the wires I wanted to use for the armatures.

I wanted the starfish to act as a base and it needed to hold the mermaid securely. Even though it was only 8 inches in diameter, I chose 14g galvanized steel wire for the basic framework because it was stiff enough to hold the shape I wanted. After making the basic shape, I wrapped the 14g with 22g wire.

This texturing of the armature made it easier to cover the wires with acrylic yarn. I used a buttonhole stitch for this step. The yarn covering made it easier to attach the strips of batting used to plump up the starfish's shape.

The mermaid may have been a smaller piece, but her construction was much more involved. The process was basically the same as the starfish, but I worked in layers on this figure. After setting up the armature, I covered her with batting and started sewing fabric on the tail.

Once I had a stable fabric base I used more pieces of batting to create breasts and the facial structure . More fabric was then whip stitched over top. On the head, the eyes were sewn on and the forehead, nose and chin were then shaped and sewn down.

On the torso, the breasts were formed by sewing batting around a marble and sewing it in place. Once they were covered with fabric, I continued the spiraling fabric shapes I started on the tail up the torso and over the breasts.

The final steps on the starfish were to secure the resin eye in
place, sew on an eyelid and embellish the entire surface with beads.

The mermaid's finishing touches were beading the hair and embellishing the torso with seed beads. Elastic trim was used to bind the mermaid in place.


Friday, November 8, 2013

Resin Eye Tutorial


                   My husband makes a lot of the eyes I use in my dolls and jewelry.....here is how he makes them.


First you'll need a silicone mold of a sphere the size you want your

eye to
be. It needs to be a one piece mold thats open at the back.


Get some Devcon Clear Two Component Epoxy from your hardware store. Also

get some dry tempera paints.


First, mix up a small amount of epoxy and use the black tempra paint to

make it black. VERY CAREFULLY, using a toothpick or some similar tool,
collect a
blob of the black epoxy on the end of the toothpick and carry it to the
mold.Let a pupil sized drop fall right into the middle of the spherical
mold. Don't let it hit the side of the inside of the mold and run down to the very
bottom, you must hit the center/bottom of the mold on the first try. You are
creating the pupil of the eye, and it must be perfectly round!


As this sets up, mix a larger batch of epoxy and tint it the color that

you wish the iris of your eye to be. Using the toothpick again, or better
yet a cheap disposable paintbrush, collect a dollop of the iris colored epoxy
and drop it into the mold right on top of the black pupil that you have just
created.
Of course, the iris color should flow beyond the area of the pupil.
Again, hit the center/bottom of the spherical mold the first time! to get a perfectly
round iris.


While this epoxy is setting up, mix a larger again batch of epoxy and

tint it a cream or white color. This will be the white of your eye. Mix
enough to pretty much fill the rest of the mold. Pour it into the mold and it's
best to let the whole thing set overnight. The following day, de mold the eye
and see how it looks. If you are happy with it, and since most dolls, figures have
TWO eyes, you now get to make a second eye just exactly like the first! Good
Luck! Once you have your TWO eyes, I would lightly sand them both to get rid of
any textures that may have formed on the surface of the eyes. Once they
have been sanded evenly, coat them both with an un tinted coat of epoxy to give
them a wet look. Sometimes a second or even third coat of clear epoxy is needed to
get a uniform coating.


This is a really down and dirty way to make fake eyes.Your biggest

hurdle will be to get some molding silicone to ccreate your spherical mold.
You'll also need a sphere to mold. A Ping Pong ball, large marble, etc.


Locate Burman Industries on the internet to purchase silicone molding materials, and

information on working with it.


Good luck! Be forewarned -This takes a great deal of practice, silicone for the molds is expensive and expect a high failure rate while you are learning.

Monday, October 21, 2013

Halloween Cats

 I love my cats. By Crazy Cat Lady standards, I have just enough cats to keep me ....and the cats happy.   So It's quite natural that this cat love sneaks into my doll making.

For Halloween I've been adding my winged Flutter cats and my Futark Feline Familiars.

Now the Flutter cats I designed because I wanted to do something winged for Halloween that wasn't a bat.  These black and white versions are rather small ....around 5 or 6 inches in height and made of cotton fabric with a black and white print. For those of you interested in a larger or a plush version, I'm finishing up my first large Flutter cat (he's about the size of an actual house cat and made of pastel turquoise plush) which I will be listing as soon as I've secured his wings properly.

Now for those of you interested in different forms of fortune telling, these Futark  Felines are cats with actual runic symbols embroidered on them. Each cat has it's own fortune appliquéd  or embroidered on to the head and body of the cat. Yes, I read the runes for each sculpture and  use the results in the piece.

The Pet Shop of The Old Ones pieces like these cats are part of the overall story that ties all of my magical animal sculpts together. Basically, my alter ego Chat Noir has the ability to create magical creatures from  injured animals she rescues as well as just designing and creating magical creatures. It's the family business for like 15 generations.

Me, I like fantasy stories and I hope my customers do too, so I give all the animals a history and a specific purpose. Like the Feline Familiars were specifically created to be companions to Wizards and they have their own specific powers to aid in spell casting and protection.

Now, if you want a Flutter cat or a Familiar, and I don't have one in a color or pattern you like, I do make custom animals. Also, if you have an idea for any other kind of animal...I'm willing to make it for you. Feel free to contact me here or through my Etsy  shop and I'll do my best to create the cat or creature of your dreams.


Monday, September 30, 2013

Last 2 Days of My End of Season Sale

Just a little reminder.... Today and tomorrow are the last 2 days of my Etsy shop End of Season Coupon Sale. Halloween is coming and I have some lovely ghost dolls and even a Feline Familiar just right for that discerning Halloween Witch.